In this entry-level tutorial, you’ll learn how to create a very simple coupons+ Coupon.
What we’ll be creating. #
In this tutorial, we’ll be creating a coupon that gives the customer a 20% discount on all t-shirts when the customer buys at least 3 t-shirts. The discount will only be applied to the t-shirts and not the cart total.
Adding a new coupon #
Coupons+ extends the built-in WooCommerce coupons, so the process for adding a new coupon is the same as if you were adding a regular WooCommerce coupon:
1 – Go to Marketing > Coupons > Add Coupon
By default, the Coupons+ screen will be shown. You can always edit your coupon using the default functionality by clicking on Back to Classic at the top left of the coupons screen.
Let’s set the CODE for the coupon. How about TSHIRTS20? On the top bar, next to “Back to Classic” there’s a field that lets you enter the coupon code you wish to have. It’s the same field for the coupon code that you can find in the default WooCommerce coupon edit screen.

Adding a new Row #
2 – Click on “Add row” in the middle of the screen. A new Row will be added. A Row needs at least 1 column. You will be shown the options for the first column. Coupons+ will execute your columns from left to right and your rows optionally from top to bottom.
3 – Click Create Column to create a Simple column, which is the column type we need for this coupon. If you want to find more information about the other column types, click here.
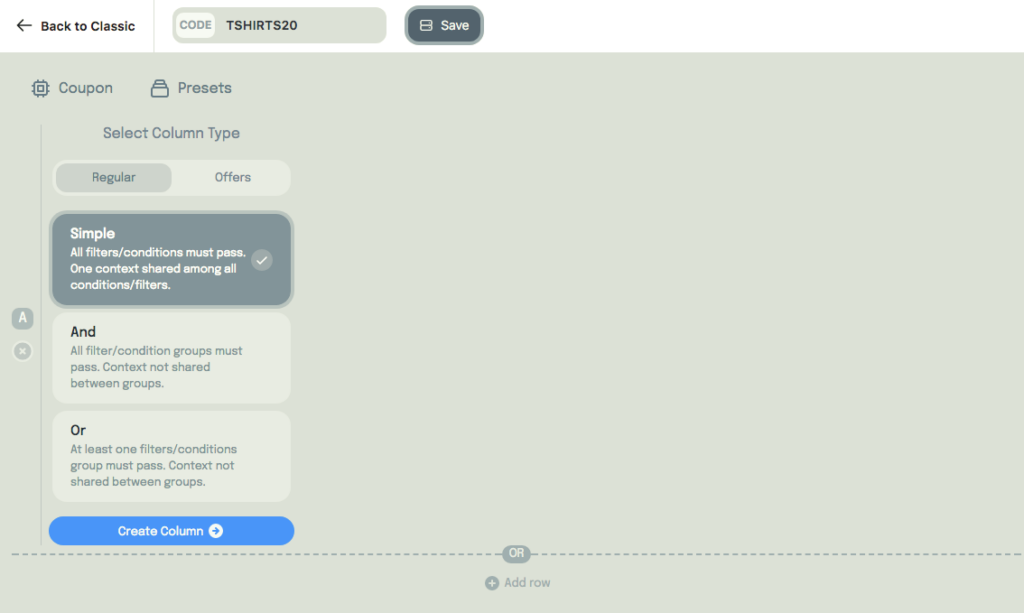
Next, you need to add your filters and the offer you want to apply.
4 – Click on Add condition or filter. A popup will be shown with the available conditions and offers. Because we want to apply the discount to only the products that have the t-shirt category, we need to use a filter to filter the products the customer has added to the cart.
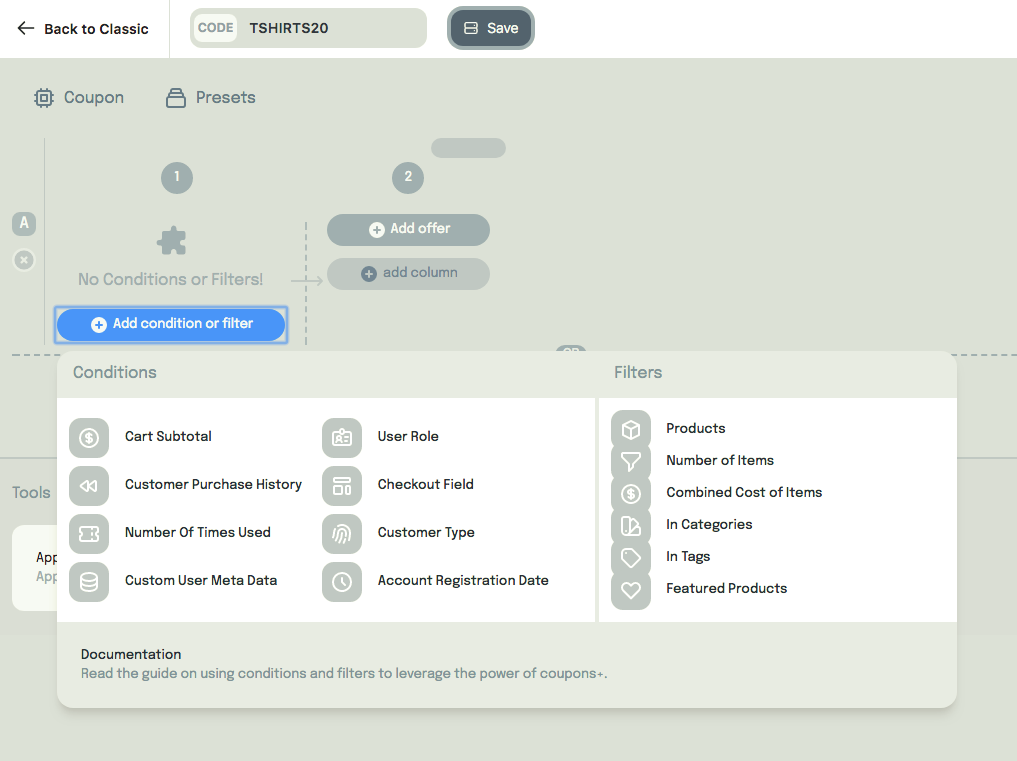
5 – Select In Categories from the filter list on the right of the menu. A new filter will be added to the first column of the first row.
6 – Click on the Select… field. A dropdown menu with all your categories will be shown. Select the categories you want to include, in this case: t-shirts.
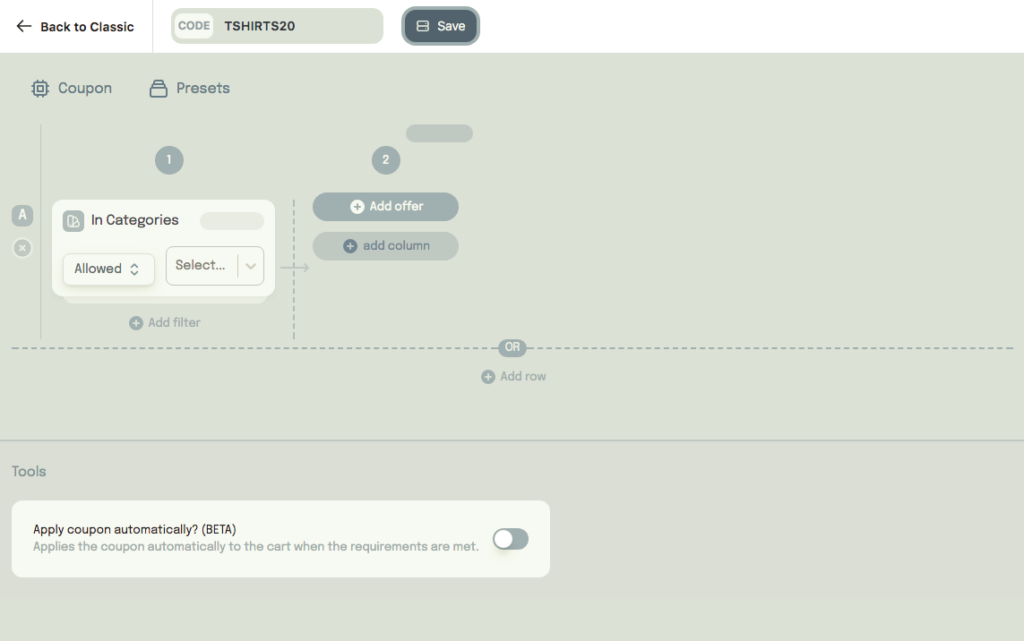
The current filter will take ALL the t.shirts from the cart, regardless of the amount in the cart. We only want to apply the discount when the customer buys 3 or more t-shirts, so you have to add another filter, this time to filter the number of items in the cart.
7 – Click the “Add filter” button that is just below the In Categories filter.
8 – Select the Number of Items filter from the filters list. A new filter will be added to the first column.
9 – From the Number of Items filter card, click on “Exactly” and select “At least”. Type “3”.
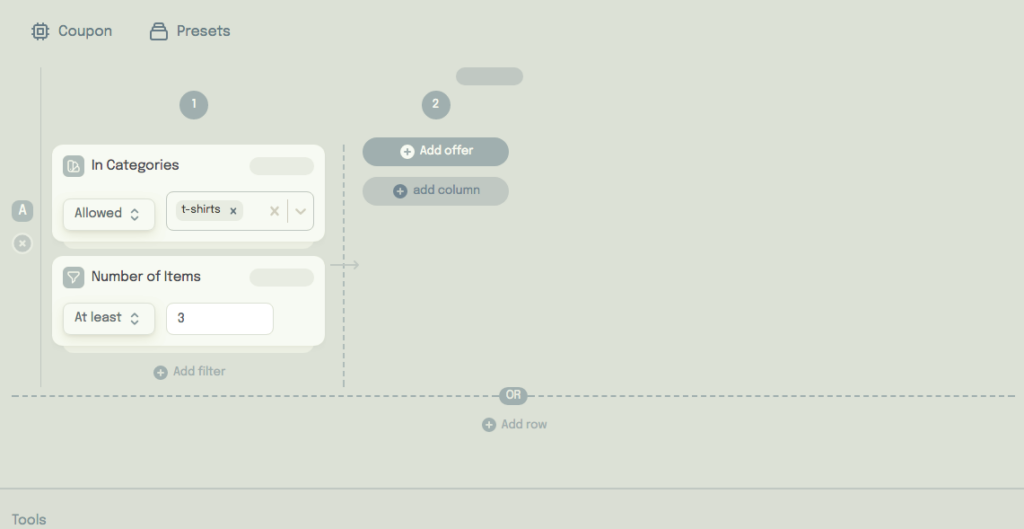
It is important to note that the filters you just added share the same context. This means That the In Categories and Number of Items filters work together to produce a single set. The column WILL NOT just select any number of t-shirts and then at least 3 random products from the cart. It will instead select 3 or more products that have the category “t-shirt”.
In Set theory, the In Categories filter will create a new set from the t-shirt products and the Number of Items filter will create a new subset of those products with the specified amount.
In the following image, from the MathIsFun website, the blue set represents the t-shirt products and the red set the 3 or more items from the Number of Items filter, except in our case the filter will be selecting 3 or more (in the image above, all 5 will be selected since 5 is more than 3). These items will then be passed to the offer you’ll add.
10 – Now we need to add an offer. Click on the “Add offer” button and select the Discount offer from the list of available offers.
11 – Enter 20 for a 20% discount on the Discount card. Below the amount field, you will notice the “Apply to” option has ben set to “Filtered items”. These are the items that the filters returned from the column on the left and are the only products the 20% discount will be applied to.
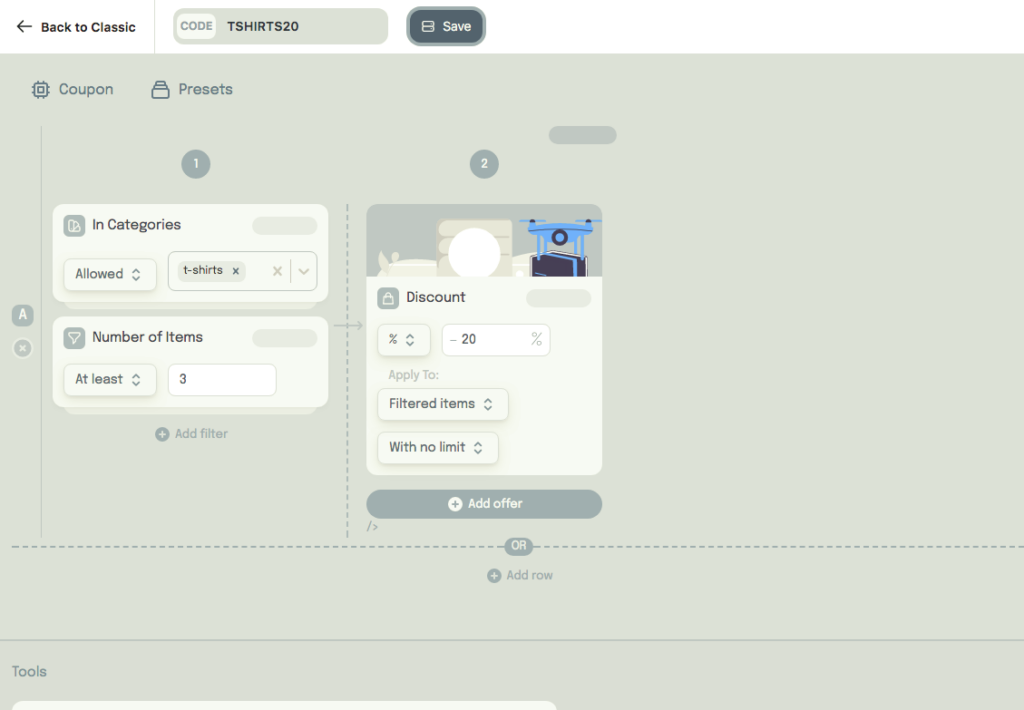
Finally, click “save” from the top bar.


